| Tutorial 08: Blending | Tutorial 10: Loading and moving through a 3D world | ||
Tutorial 09: Moving bitmaps in 3D space
This tutorial assumes, that you have read and understood lesson 08.To see the lessons result, you can jump to the live example.
This tutorial has been created by Ric Wright, www.geofx.com.
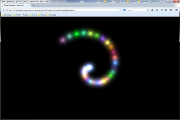 Screenshot of the WebGL renderer |
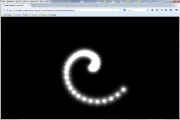 Screenshot of the canvas renderer |